The SneaksGeeks Sneaker Care Playbook: How to Keep Your Kicks Fresh, Long, and Out of the Landfill

Let's be real — most people treat their sneakers like they're disposable. Wear them, beat them, toss them. Repeat. But here's the thing: that cycle is exactly what's flooding landfills with 300 million pairs of shoes every single year.
At SneaksGeeks, we believe care is culture. Taking the time to properly clean, protect, and maintain your kicks isn't just about aesthetics — it's about extending the life of something worth keeping. And when the day finally comes that you're ready to move them on, a well-maintained pair is worth more, sells faster, and keeps more material in circulation through programs like SneaksGeek's Donation services.
This is your complete sneaker care playbook. No fluff. Just what actually works.
1. Read Your Materials First

Before you reach for a brush or cleaner, know what you're working with. Sneakers aren't monolithic — and the wrong product on the wrong material can do more damage than the dirt itself.
Canvas (Chucks, Vans Eras, some Yeezys) Forgiving and relatively easy to clean. A mild soap solution and a soft-bristle brush will handle most surface dirt. Canvas can tolerate a little more scrubbing than other materials — just don't soak them.
Leather & Patent Leather (Jordan 1s, Air Force 1s, most dress-adjacent sneakers) Durable but sensitive to drying out. Clean with a damp cloth and a leather-safe cleaner. Always follow up with a leather conditioner to prevent cracking. Patent leather is even more delicate — use a microfiber cloth only, and avoid harsh chemicals entirely.
Suede & Nubuck (Puma Suedes, New Balance 574s, Timberlands) The high-maintenance ex of the sneaker world. Never use water directly. Use a suede brush for dry dirt and a specialized suede eraser for stains. A suede protector spray applied before wear saves you a world of trouble down the line.
Mesh & Knit (Nike Flyknit, Adidas Primeknit, most running silhouettes) Lightweight and breathable — but a magnet for embedded dirt. Use a soft brush and a diluted sneaker cleaner, working in circular motions. Don't pull at the fabric. Air dry only.
Rubber & Foam Midsoles The part everyone neglects until the yellowing sets in. We'll cover that below.
2. The Standard Clean: Step by Step
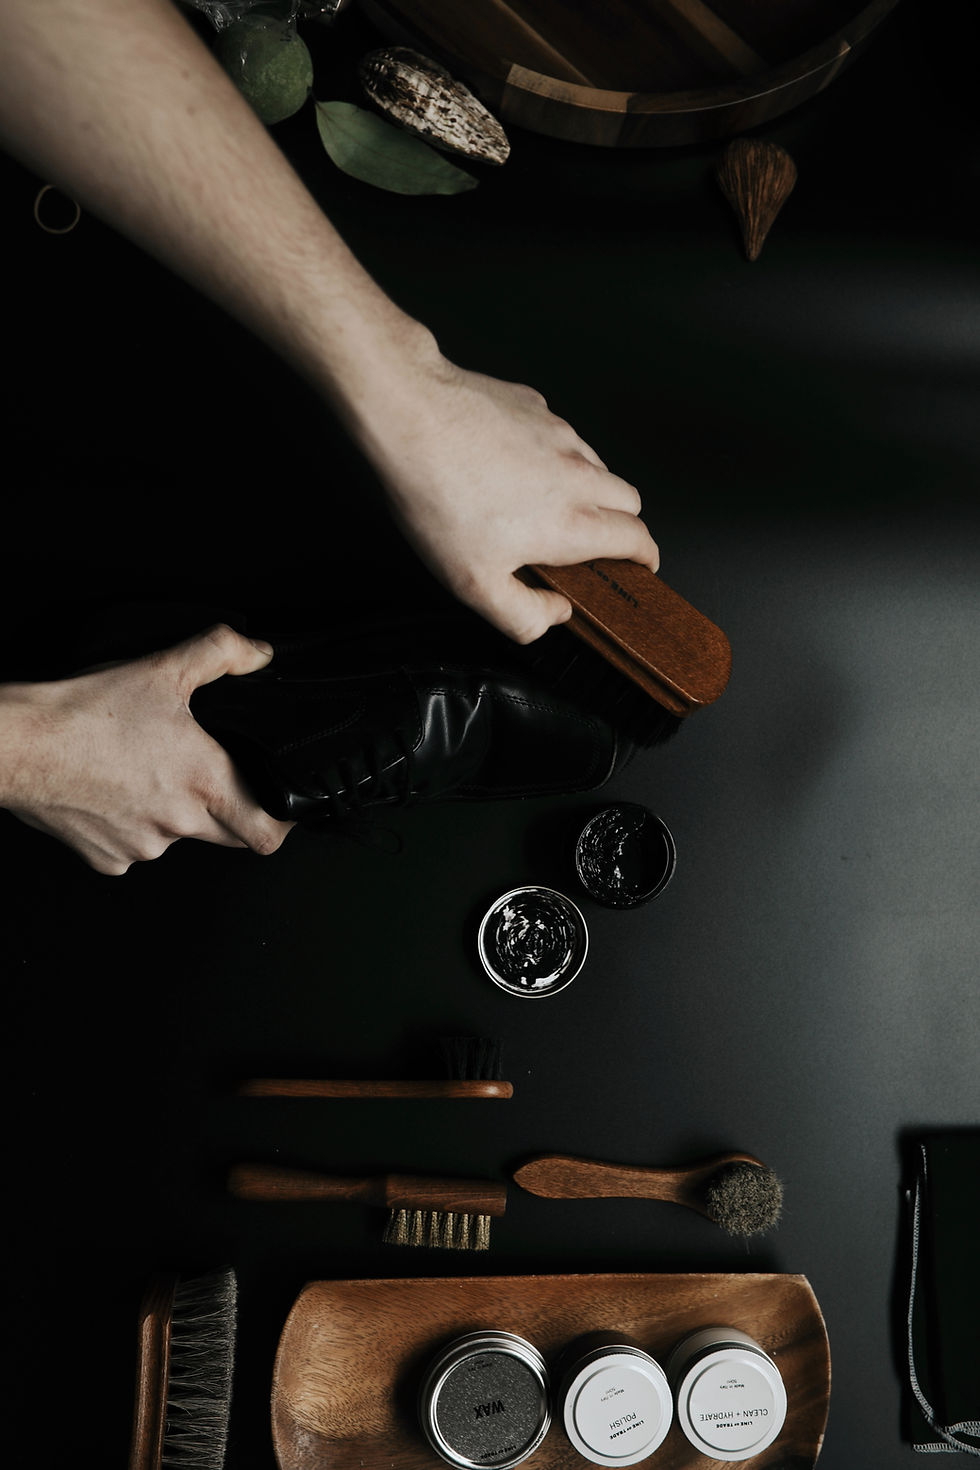
For routine maintenance after regular wear, this is your baseline process. Do this every 4–6 wears, or whenever your kicks start looking tired.
What you need:
Soft-bristle brush (an old toothbrush works for detailing)
Medium-bristle brush for outsoles
Microfiber cloths
Mild sneaker cleaner or a few drops of dish soap in warm water
Paper towels or cedar shoe trees
A well-lit workspace
The process:
Step 1 — Strip it down. Remove the laces and insoles. You can't clean a sneaker properly while they're in the way, and both need separate attention.
Step 2 — Dry brush first. Before any liquid touches the shoe, use a soft brush to knock off loose dirt and debris. This prevents you from grinding surface grime deeper into the material when you start scrubbing.
Step 3 — Laces. Drop them in a bowl of warm soapy water and let them soak while you work on the shoe. Give them a gentle scrub, rinse, and set aside to air dry.
Step 4 — Uppers. Dip your soft brush into your cleaning solution and work in small sections using light, circular motions. Don't saturate the material — especially suede or knit. Wipe away excess solution with a damp microfiber cloth as you go.
Step 5 — Midsoles and outsoles. Switch to the medium brush here. Scrub the rubber with the cleaning solution, paying extra attention to grooves in the outsole where dirt packs in. A toothpick or detailing brush gets into tight spaces.
Step 6 — Insoles. Wipe down with a lightly dampened cloth and mild soap. If they're deeply soiled or carrying odor, baking soda left inside overnight handles most of it. Replace them if they've compressed beyond revival — fresh insoles do more for how a sneaker feels and sells than most people realize.
Step 7 — Dry properly. Stuff with paper towels or cedar shoe trees to hold the shape. Air dry in a shaded, ventilated spot. No direct sunlight — UV fades materials and warps adhesives. No dryer — ever.
3. Tackling the Hard Stuff: Stains, Yellowing, and Odor

Routine cleaning handles most situations. But some issues need a more targeted approach.
Yellowed midsoles This is oxidation — a chemical reaction that happens naturally over time, especially on white rubber. Make a paste of baking soda and a small amount of hydrogen peroxide. Apply to the midsole, cover with plastic wrap, and leave it in indirect sunlight for 30–45 minutes. The UV activates the hydrogen peroxide. Scrub and rinse. Repeat for stubborn yellowing. For older, deeper yellowing on collector pairs, dedicated sole restoration products like Angelus Sole Bright or Crep Protect Sole Sauce are worth the investment.
Grease and oil stains Act fast. Blot (don't rub) the stain immediately. Apply baking soda or cornstarch to absorb the oil. Let it sit for a few hours, then brush away before cleaning the area normally. The longer grease sits, the deeper it sets.
Ink or marker A cotton swab with rubbing alcohol, applied with patience. Dab from the outside of the stain inward to avoid spreading. Test on an inconspicuous area first — especially on leather.
Scuffs on leather A small amount of petroleum jelly on a cloth, buffed in a circular motion, handles minor scuffs on smooth leather and can minimize the appearance of deeper marks. For white leather, a Magic Eraser (used very gently) addresses surface scuffs without chemicals.
Odor Baking soda inside the shoe overnight absorbs moisture and neutralizes odor. Cedar shoe trees do the same passively with every wear. Activated charcoal inserts work well for chronic odor issues. Avoid masking sprays that don't address the source — bacteria causes odor, and bacteria thrives in moisture.
4. Protection: The Step Most People Skip

Cleaning is reactive. Protection is proactive — and it's what separates people who constantly clean their shoes from people who rarely have to.
Water and stain repellent spray Apply to new sneakers before the first wear, and reapply every 4–6 weeks depending on frequency of use. This is especially critical for suede and nubuck, but beneficial across all materials. Brands like Crep Protect, Jason Markk, and Kiwi make accessible options at different price points.
UV protection Direct sunlight breaks down materials, fades colorways, and accelerates sole yellowing. Store your collection away from windows and consider UV-blocking bags or boxes for long-term storage of pairs you're rotating less frequently.
Shoe trees Cedar shoe trees absorb moisture and maintain the shape of the toe box. This matters more than most people think — a shoe that holds its shape is a shoe that still looks new when you eventually want to resell or donate it.
Dehumidifiers or silica gel packs If you're storing sneakers in boxes (which you should be), throw a silica gel pack in each box. Moisture is the silent killer of sneaker collections — it causes glue separation, material breakdown, and mold.
5. Storage Done Right

How you store your sneakers matters as much as how you clean them.
Cool, dark, and dry is the rule. Avoid garages, direct sunlight, or anywhere with high humidity fluctuations.
Box them. Original boxes are ideal because they're sized correctly. If you've lost the box, acrylic display cases work well for pairs you want to see but still protect.
Avoid plastic bags. They trap moisture and create conditions for mold growth and material breakdown.
Rotate your wear. Wearing the same pair every day degrades materials faster. Give shoes 24–48 hours of rest between wears to allow them to fully air out and regain shape.
Stuffing for shape. For pairs in long-term storage, stuff the toe box with acid-free tissue paper. Regular newspaper works in a pinch, but the ink can transfer over time.
6. The SneaksGeeks Connection: Why Care Is Part of the Mission

Every tip in this guide comes back to the same principle: things last when you take care of them.
At SneaksGeeks, we see the full lifecycle of a sneaker — the ones people loved and maintained, and the ones that got tossed without a second thought. The difference in condition is rarely about the shoe. It's about how it was treated.
When you properly care for your kicks, you're not just protecting an investment. You're contributing to a supply chain where quality pre-owned sneakers are actually available — accessible, affordable, and sustainable. That's what our 30/35/35 Pledge is built on. Thirty percent reinvested, thirty-five percent recycled, thirty-five percent donated — all of it only works if the product coming in is worth extending.
Sustainability is the new fresh. And fresh starts with how you treat what you already have.
Ready to give a pair a second life? Browse our current inventory, or drop your donations through SneaksGeeks Donations — we'll handle the rest.


Comments